
A useful professional headshot makes you easy to recognize and gives viewers a current sense of how you present yourself at work. This guide turns the process into six checkable stages: build a simple setup, take the photograph, test style and pose, edit lightly, review the result at profile size, and choose the production method that fits your needs.
A headshot cannot promise interviews, profile views, or a job. It can help a colleague, client, or recruiter recognize you and decide whether the image fits the context. LinkedIn’s profile guidance recommends a current professional-context image and advises against group shots. See sources.
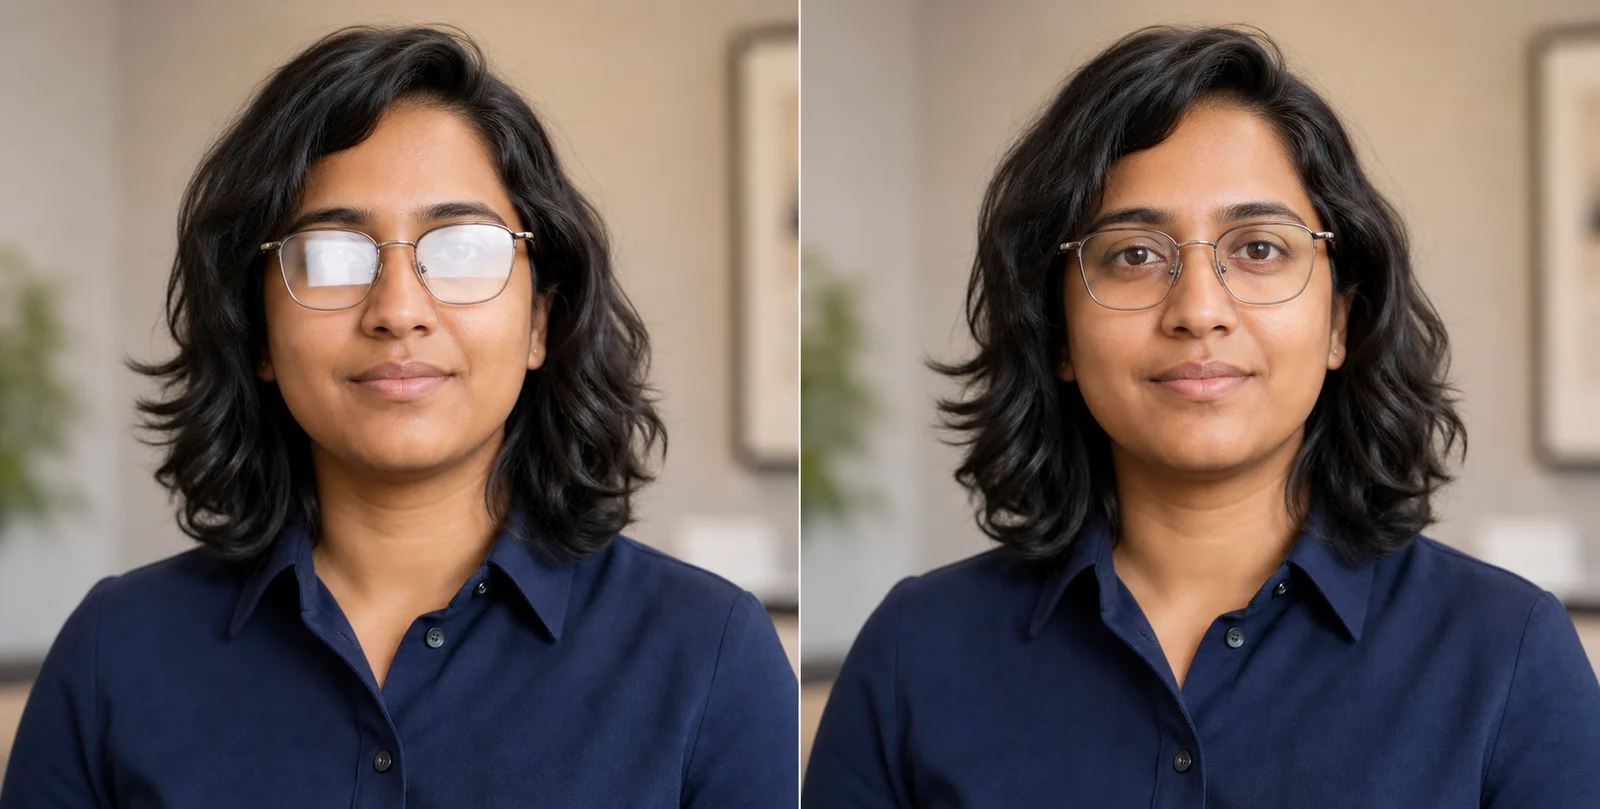
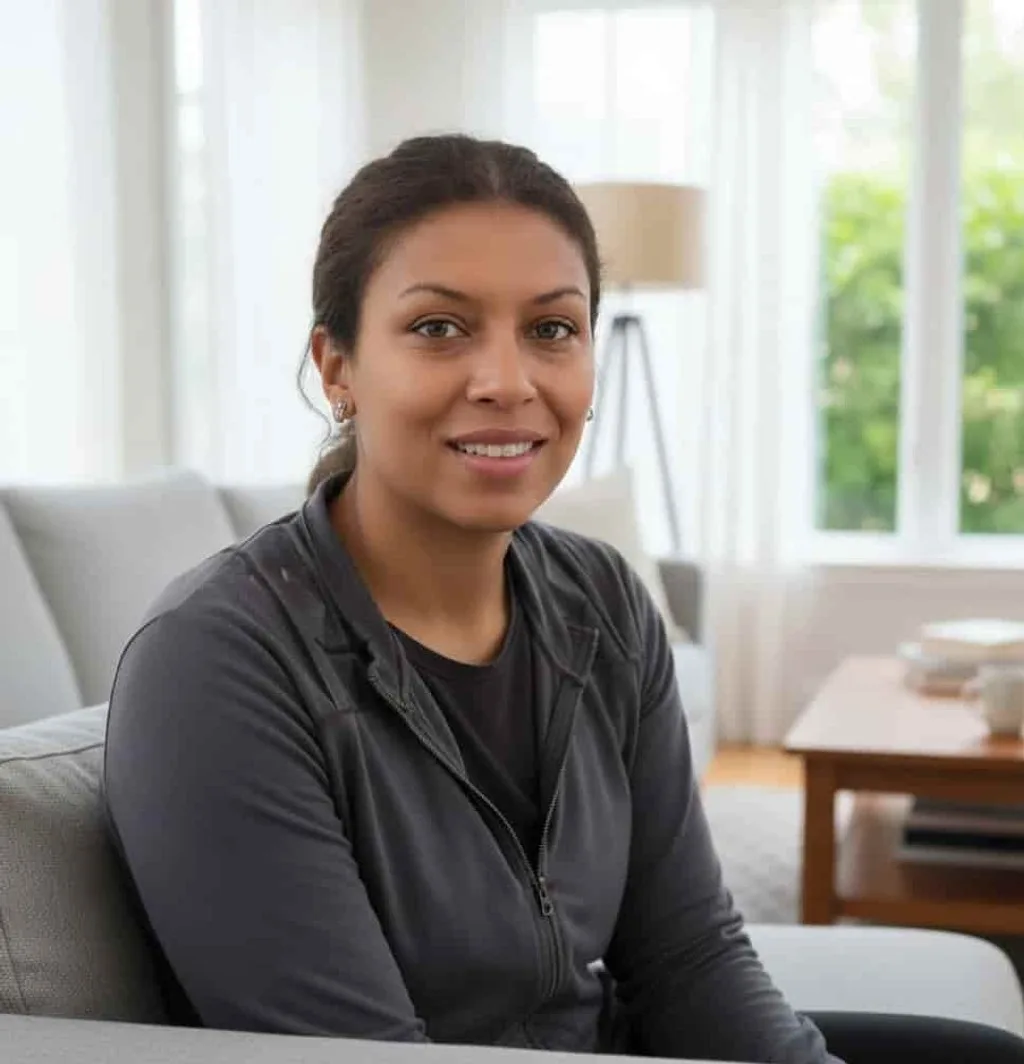 Source: clear face, soft window light, no eyewear glare.
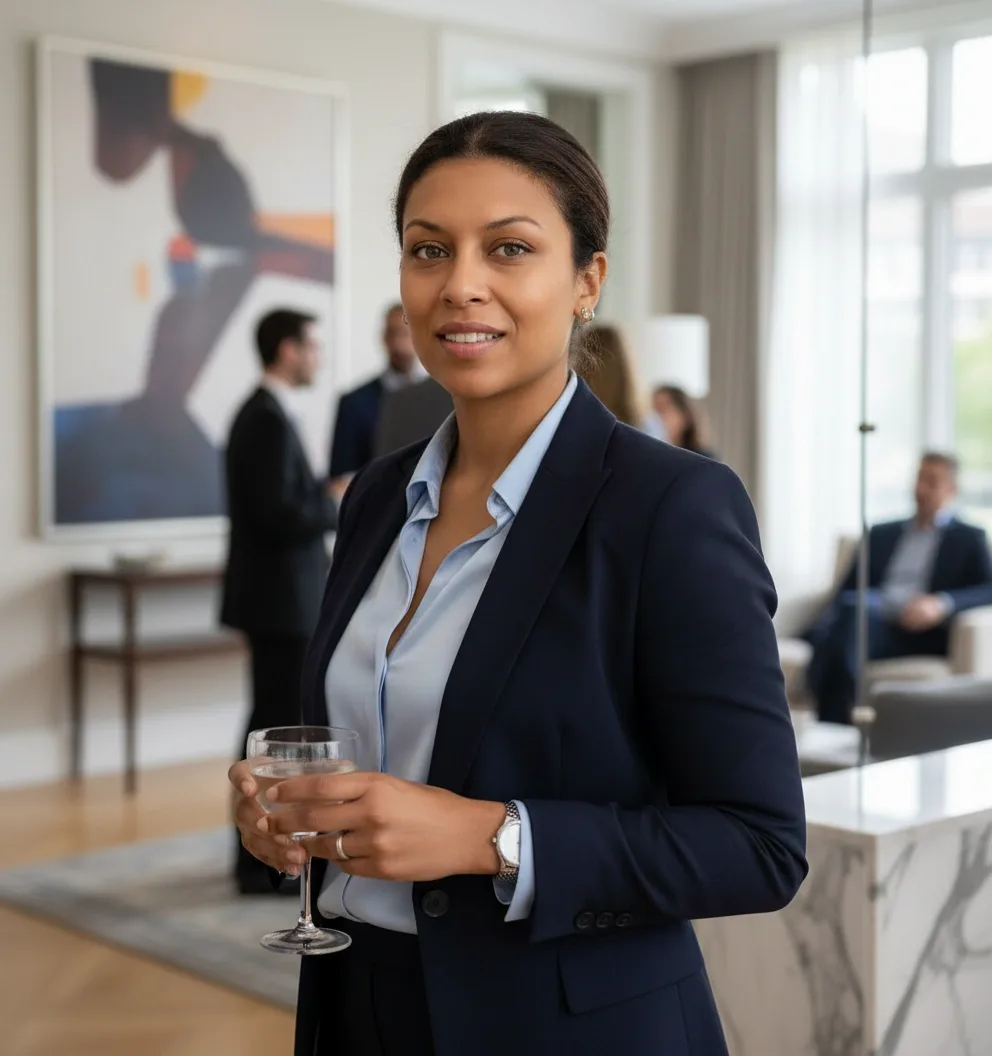 Final: a business-context variation reviewed for likeness and detail.
1. Build the minimum viable setup
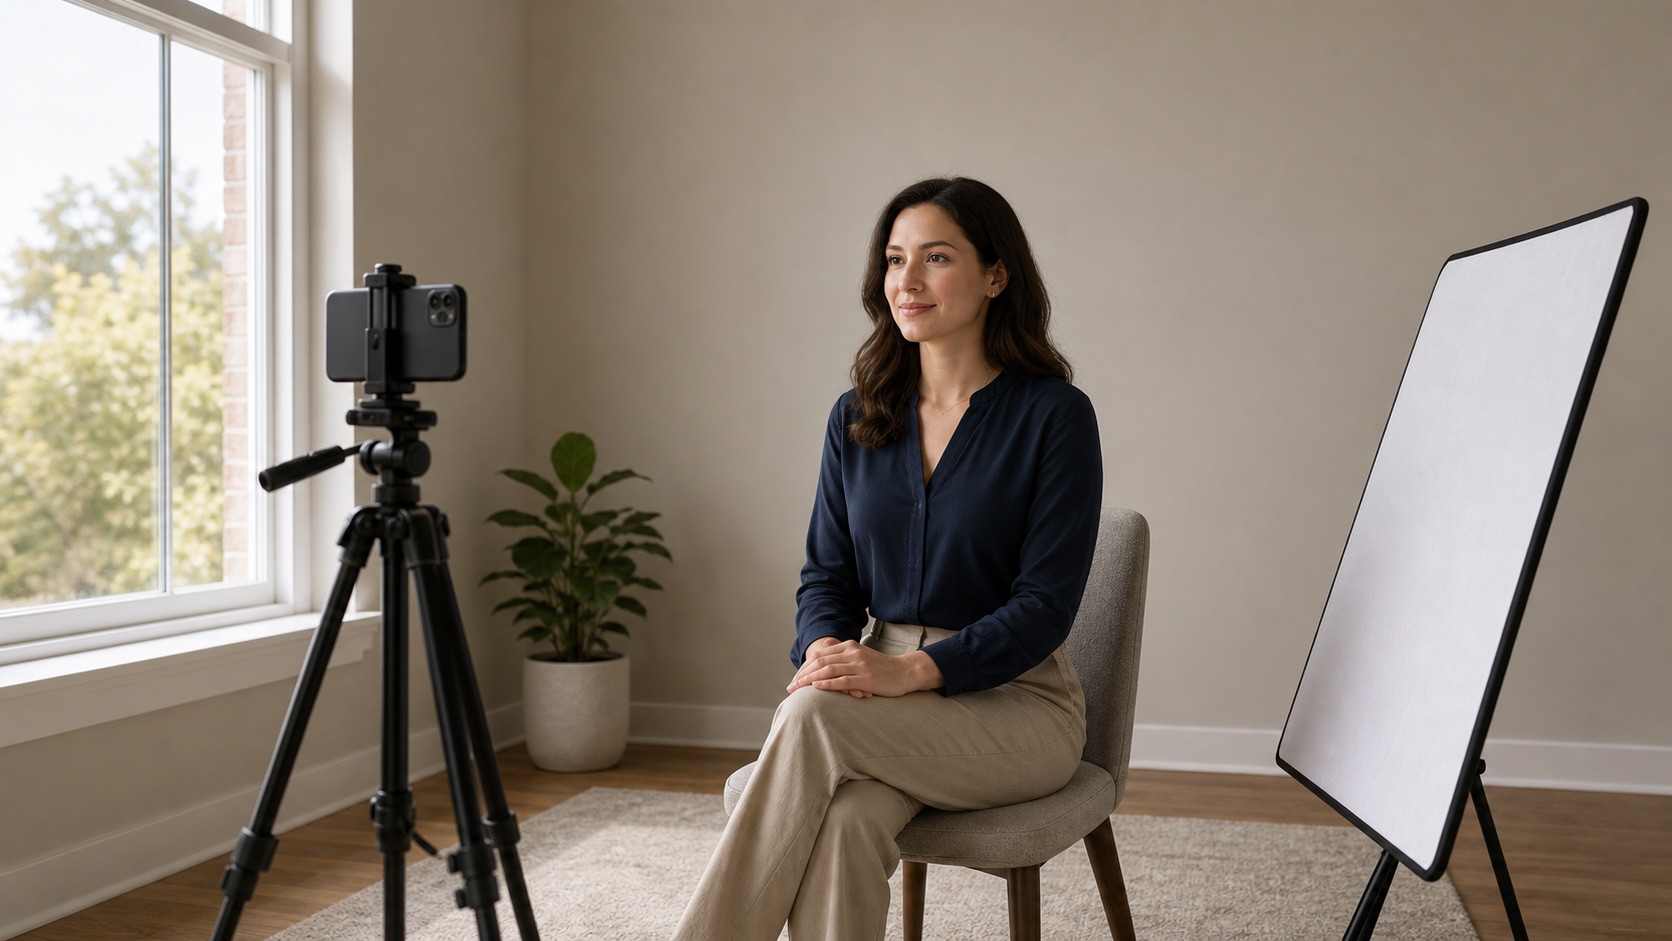
Start with the smallest setup that lets you control blur, light, and background. A recent smartphone on a tripod or stable shelf is enough for many web profiles. A mirrorless or DSLR camera adds lens and exposure control; a webcam is a fallback when it focuses sharply and you can improve the light. Whatever you use, clean the lens, select the highest useful capture quality, and turn on a timer or remote shutter so the camera does not move.
Choose a background and one soft light
A plain wall, simple backdrop, or softly blurred workplace can work. Look around the edges for signs, other people, bright objects, or clutter that will compete with your face. Stand a few feet from the background when possible so it is less sharp than you are.
For light, try facing a large window that is not receiving harsh direct sun. If one side of the face becomes too dark, place a white board or pale wall opposite the window. A diffused softbox can provide more consistency. A ring light is another option, but test its brightness and catchlights rather than assuming it will suit every subject.
2. Take the photograph
Put the lens roughly near eye level to begin, then test a slightly higher or lower position if it better matches your natural posture. Leave enough distance to avoid the stretched features common with a very close phone camera. Frame the head and shoulders with some room for a square or circular crop, and focus on the nearer eye.
- Take one test frame and zoom in to confirm that the eyes are sharp.
- Check that highlights on the forehead, cheeks, and glasses still contain detail.
- Capture several short sets, changing only one thing at a time: chin position, shoulder angle, or expression.
- Review before dismantling the setup. Correcting light or focus now is easier than trying to repair it later.
On a dedicated camera, a moderate portrait focal length and an aperture that keeps both eyes sharp are useful starting points. Exact settings depend on the lens, distance, available light, and whether the subject is moving. On a phone, portrait mode is optional; reliable focus and even exposure matter more than simulated blur.
Test, do not assume
A camera below eye level is not automatically wrong, but it can exaggerate perspective when it is close. Compare a few heights at the final crop and keep the one that looks most natural and recognizable.
3. Test style, pose, and expression
Choose clothing that is credible for the place where the image will appear. Solid colors and quiet patterns often survive a small crop better than detailed prints, but there is no universal palette. Photograph two options against the chosen background and see which gives the face enough visual separation. A blazer, knit, uniform, or smart-casual shirt can all be appropriate in the right professional context.
Keep grooming choices consistent with how you expect colleagues to recognize you. If you wear glasses, keep them on when that feels most representative. Raise or move the light slightly, tilt the glasses only if comfortable, and check the image rather than relying on lens coatings alone.
Compare comfortable poses
- Shoulders: test straight-on and a modest turn. Use the version that feels natural for your role.
- Head and chin: make small adjustments while keeping the neck relaxed. Avoid forcing a technique that feels strained.
- Expression: compare a relaxed neutral look, a closed-mouth smile, and a broader natural smile. Teeth are optional.
- Posture: sit or stand in a way you can hold comfortably for several frames.
Prompts that create a real reaction are more useful than dated posing jargon. Ask the subject to breathe out, reset their shoulders, or think about a familiar colleague. Review the sequence and choose the expression that looks most like them in conversation.
4. Edit with restraint
Editing should make the capture easier to read, not replace the person. Work from a copy and keep the original. Straighten the frame, set the crop, make modest exposure and white-balance adjustments, and check that skin color still looks believable on more than one screen. Remove temporary distractions only when doing so does not change recognizable features.
- Crop for the intended platform while keeping extra space in the master file.
- Balance exposure without clipping bright skin or shirt detail.
- Correct color casts by comparing skin, neutral clothing, and the background.
- Use texture, sharpening, and noise reduction sparingly.
- Export a high-quality master and a separate platform-sized copy.
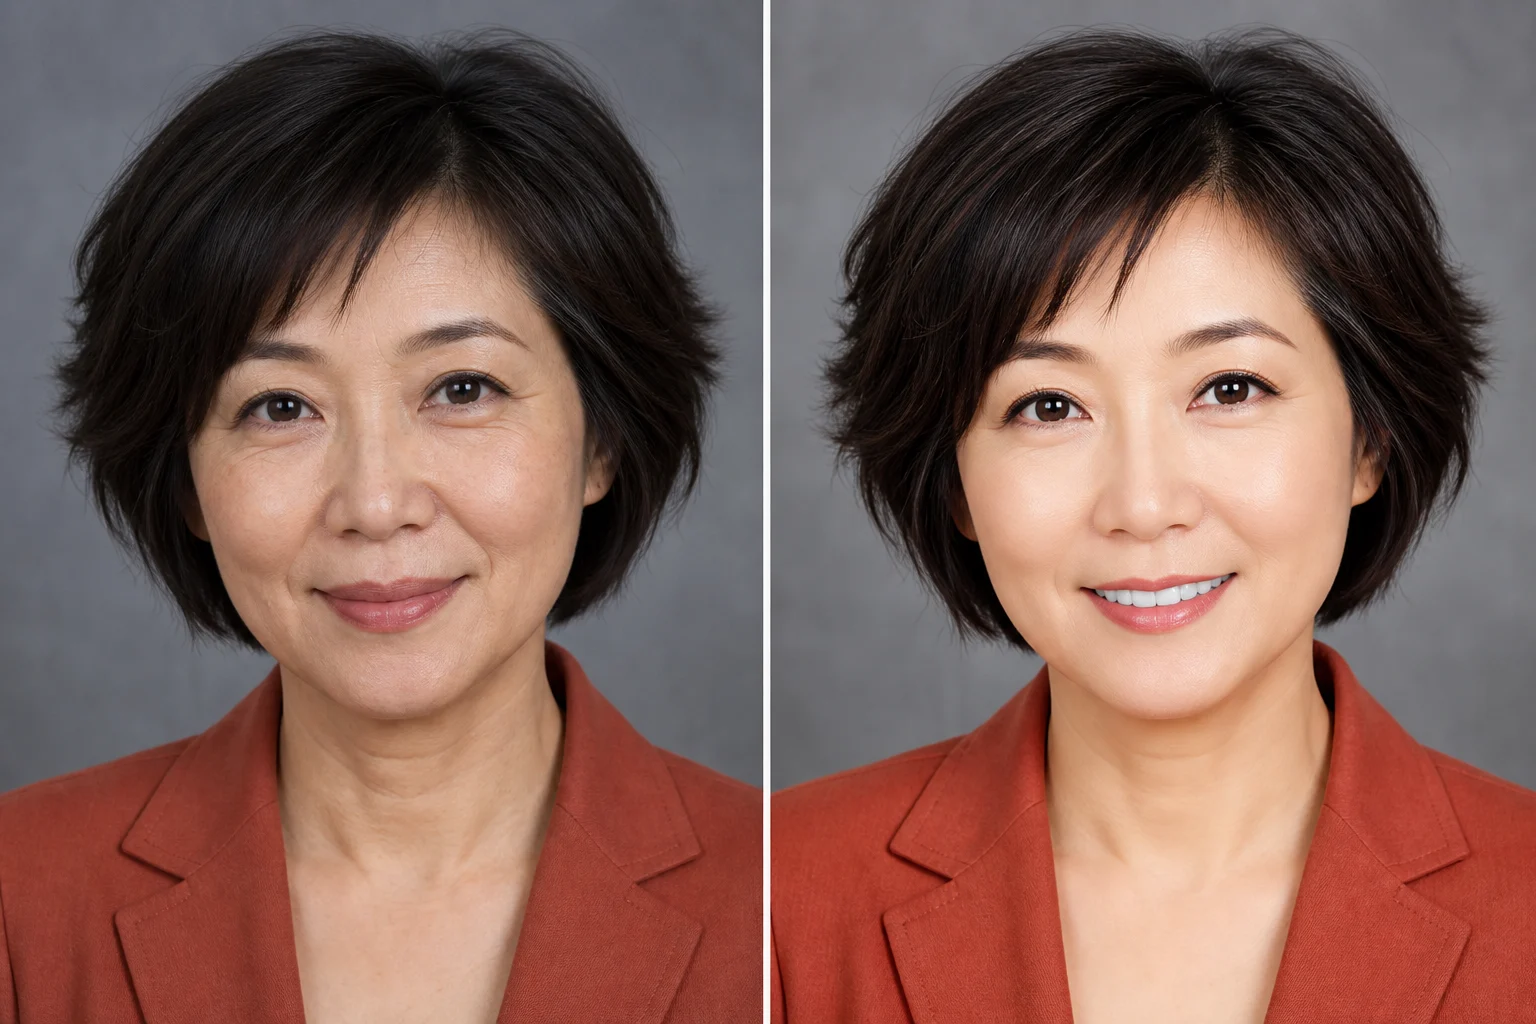
Editing tools and facial-data privacy
Desktop editors such as GIMP or Photopea can handle crop, exposure, and color. Mobile and AI-assisted tools—including apps such as Remini or FaceApp—may require you to upload facial imagery. Before uploading your own face or an employee’s image, review the provider’s current privacy terms and account controls for:
- how facial data and derived data are handled;
- how long uploads and generated files are retained and how deletion works;
- whether data may be used for model training and whether that setting can be disabled; and
- whether an employer or client confidentiality policy permits the upload.
Do not upload someone else’s portrait without permission. Product policies change, so verify them at the time you use the tool rather than relying on a blog summary.
5. Review at profile size
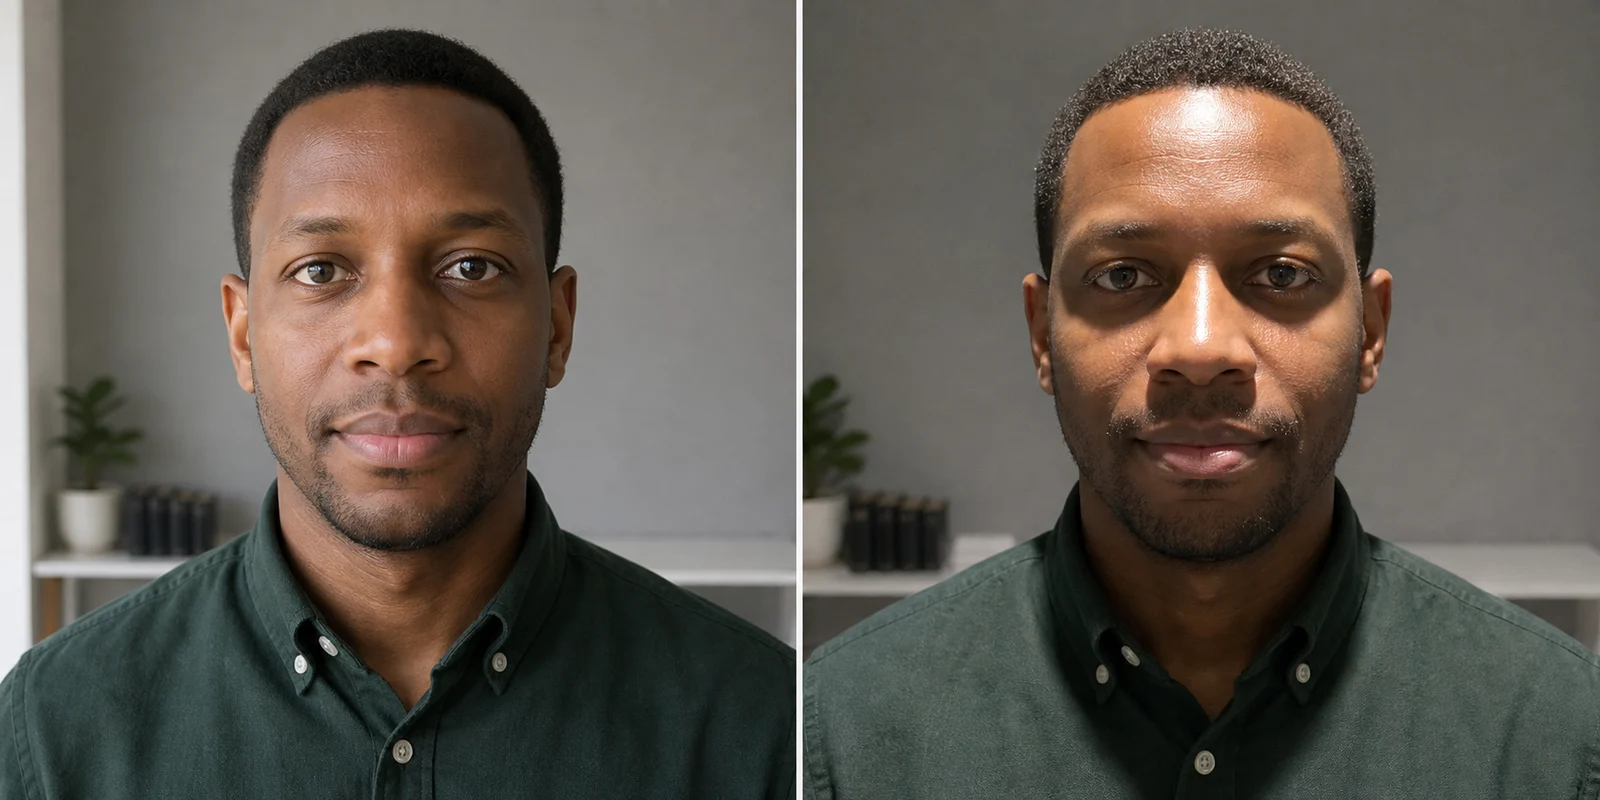
A full-screen portrait can hide problems that become obvious in a small avatar. Run this review after editing and before publishing. The examples below are displayed at 96×96 pixels so you can judge the practical difference rather than imagining it.
Run a two-minute small-screen review
- Open the candidate on the phone or service where it will appear.
- Apply a circular crop if the platform uses one and make sure hair, chin, and shoulders are not awkwardly clipped.
- Ask someone who knows you whether the image is current and recognizable without context.
- Check eye focus, glasses glare, background objects, logos, and any AI-generated clothing or hand details.
- Keep the clearest credible frame, not necessarily the most polished one.
Common reasons to retake include motion blur, a distracting background, very uneven light, an expression that feels forced, or insufficient resolution for the intended output. These are signals to test another frame, not evidence that one camera angle or pose is universally wrong.
6. Choose DIY, photographer, or AI
The right method depends on your deadline, budget, need for direction, and how closely the final environment must match reality. Local pricing and deliverables vary, so compare actual quotes or product terms rather than relying on a generic price promise.
DIY
Choose DIY when you can control the room, use a timer or helper, and repeat the setup. You control the pace, but you also have to diagnose focus, pose, and light yourself.
Professional photographer
Choose a photographer when you need live direction, a consistent team look, specific lighting, location accuracy, or files prepared for print. Ask about usage rights and final deliverables before the session.
AI-assisted headshots
Use AI when you want to explore several professional directions from source photos. Treat every output as a candidate that still needs likeness, detail, context, rights, and small-screen review. A generated office should not imply an employer, credential, event, or workplace that is not true.
Corporate Creative studio
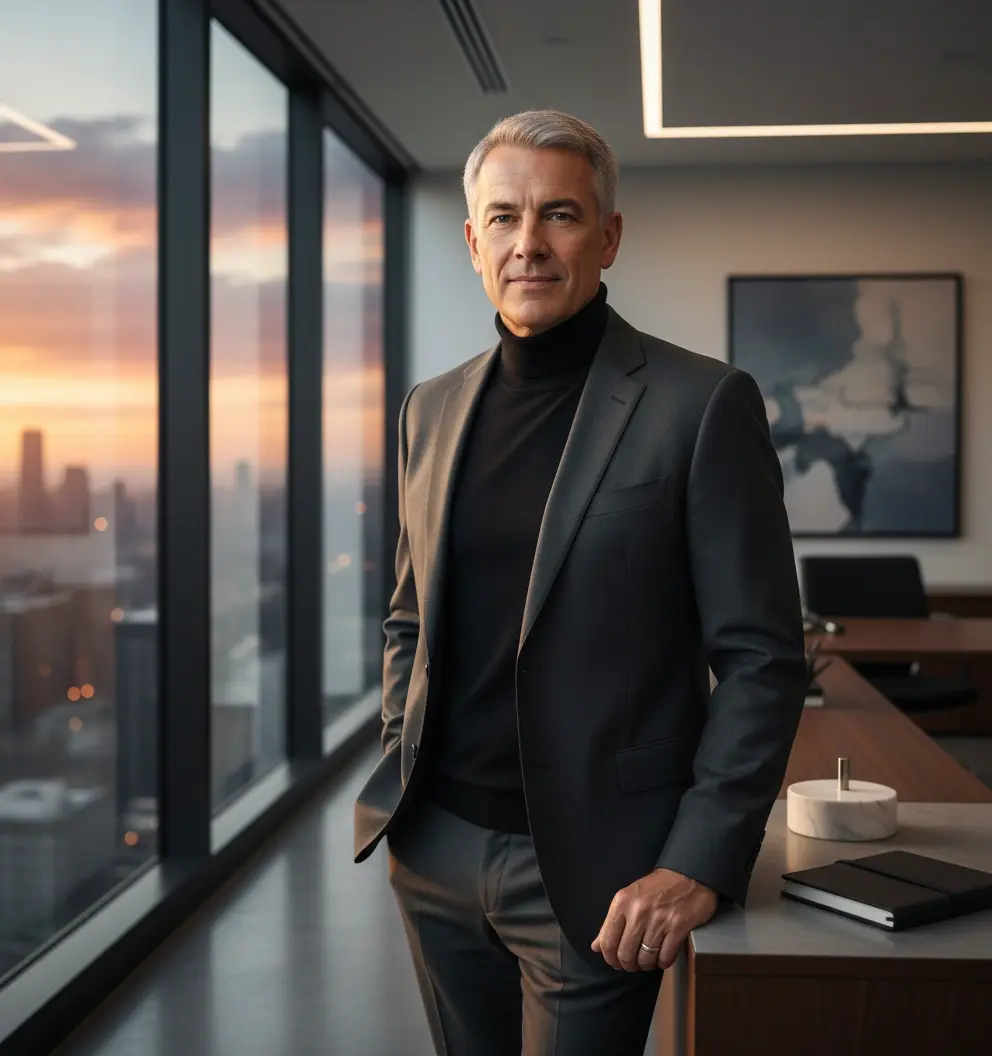 Executive
 Modern workplace
A current headshot may be useful on a professional profile, company team page, speaker biography, portfolio, press kit, or work-focused social account. None is automatically required. Follow the organization’s image policy and use the file only where it helps the intended audience recognize you.
Update the image whenever it is no longer current or recognizable, or when the professional context has materially changed. A calendar rule is less useful than an honest comparison with how you appear now.
Frequently asked questions
What's the best camera setting for headshots?
Use settings that keep the eyes sharp and avoid visible motion blur. For a phone, stabilize it, use the timer, and prioritize even light over a particular portrait-mode effect.
Should I smile in my professional headshot?
Test a relaxed neutral expression and a natural smile. Choose the version that feels like you, remains recognizable, and fits the audience. Teeth are neither required nor automatically better.
Can I take my own professional headshot?
Yes. Use a stable camera position, even light, a simple background, and multiple takes. A professional photographer may be a better fit when you need live posing or lighting direction.
What resolution should a headshot be?
Keep the highest-quality original you can. Export a separate copy at the dimensions and file size required by the platform where you publish.
Are AI headshots acceptable for professional use?
Acceptance depends on the organization and use. Confirm that the result reflects your current likeness and does not imply a role, workplace, credential, or event that is not true. LinkedIn’s conditions require a photo or rendering that reflects the member’s likeness.
Make the final choice
The practical standard is simple: make the intended audience able to recognize you, keep the image current, and choose a setting and expression that fit the context. Review the image small, compare it with the source, and check the usage rules before publishing—whatever production method you choose.
About this guide
Tryaiphoto Editorial Desk maintains practical guidance for preparing and reviewing photos used with Tryaiphoto’s tools. The Tryaiphoto product team reviewed this page for product-workflow accuracy on August 11, 2026. It is not career, legal, or platform-policy advice. Read our Editorial Policy or contact us with a correction.
Sources
- LinkedIn, “How to build a strong LinkedIn profile” — guidance on current, professional-context photos, avoiding group shots, and soft natural light.
- LinkedIn Help, “Profile photo guidelines and conditions” — profile-photo conditions, including the requirement that a photo or rendering reflect the member’s likeness.